Walkthrough - Mission 6
A Question Of Knowledge
Note: All locks that require keys are noted. Everything else is either unlocked or can be opened with your lockpicks.
Loot Map & List
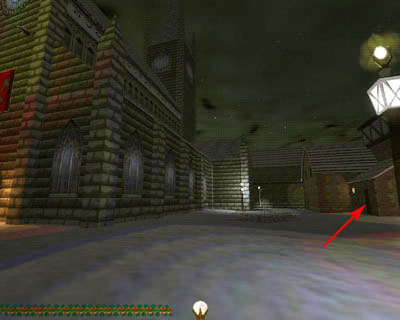
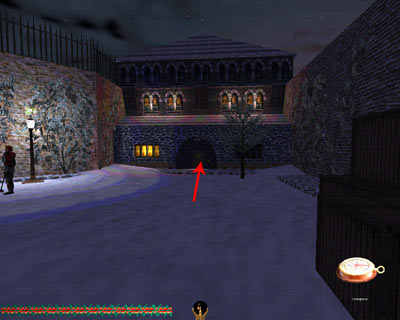
Walk through the streets to the courtyard with a fountain. Climb one of the ramps and head north. There's a shed on the right-hand side with a lockbox that opens the door. Go in and through to the second room. Climb the ladder to the loft where you'll find a rope arrow in a chest. Back down on the lower level, open the north shutters, slip quietly out onto the boxes below the window and then to the ground so as to avoid alerting the 2 guards.
Creep around them in the shadows and take a Cathedral key from each. If you look in the open window in the corner, you can pick up yet another copy of the same key. Climb back into the shed, leave through the door and walk south. Turn right (W) along the front of the Cathedral then head north.
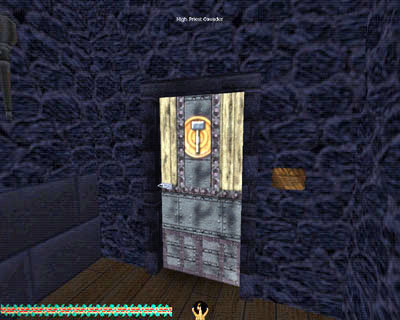
There's an archway on the left that leads to a door, but it's locked so continue on and you'll see a window. It's a bit too high to get in, but there are couple of boxes around the corner of the building. Stand on one of those and you'll be high enough to get in.
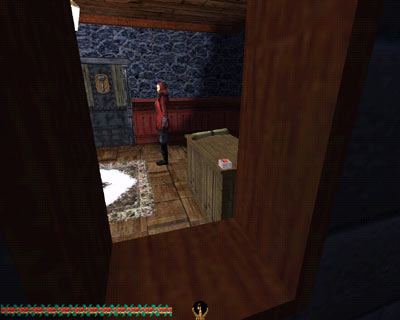
There's nothing of interest in the first room, so continue out into the hallway where you'll find an urn (+100) sitting on a table. Take the elevator to the upper floor, grab a silver medallion (+75 = 175) from a table then go through the door in the southeast corner. Take a flashbomb from the chest and climb the ladder to the attic.
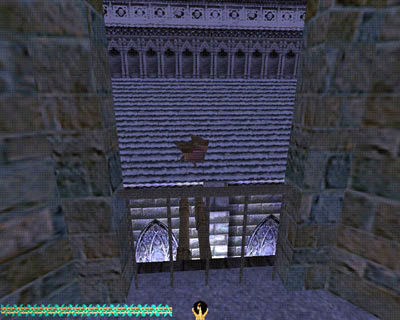
If you look out the opening in the east wall, you'll see some convenient pipes that lead over to a hole in the cathedral roof. (Saving now would be a good idea as it's easy to slip off here.) Tiptoe across and drop in for a visit.
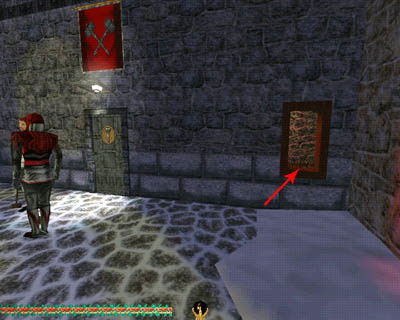
The door in the south wall is locked so head north. In the northwest room, you can acquire a plate (+10 = 185). Take the Inner Chapel Key from the archer that patrols the walkway outside these rooms and return to the locked door. Use the key to unlock it, enter the room and climb the ladder to a storage room. Climb another ladder and you'll emerge in the attic. The large chest contains some broadhead arrows. Walk over to a small room in the northeast corner. You'll hear someone snoring inside. Funny place for a bedroom, isn't it? Creep in and pick up a small gold hammer (+75 = 260) that's lying on the floor beside the bed.
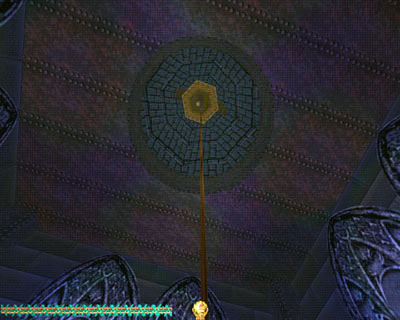
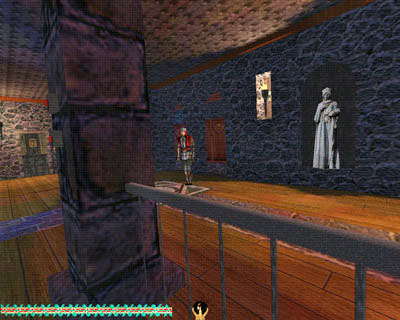
Back out in the main part of the attic, go through the north door into the bell tower. Climb the ladder to a platform then climb the bell rope until you're high enough to jump to a ledge where you'll find a chest that contains a concealment potion. Retrace your steps back to the balcony overlooking the church where the archer was patrolling, and cross to the east side where you'll find a statue (+15 = 275) in the south room and a decorative plate (+10 = 285) in the north room. Go down the stairs in the middle room and open the door at the bottom.
Main Floor
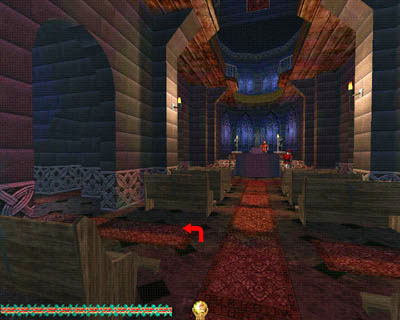
Turn right and enter the church. Walk up the center aisle, which is patrolled by one guard and take another copy of the Inner Chapel Key from the guard who patrols across the center aisle. Take the first left and hide in the dark corner here until the other guard passes by, then quietly enter a side chapel where you'll find a jar (+20 = 305). Go back the way you came and across the center aisle, using the same tactic in the other side chapel where you'll find a gold statue (+75 = 380). Go through the door to the left, which unlocks with the Inner Chapel Key and walk straight ahead to the corner. Turn left through an open doorway but stop before entering as the priest from the front of the church wanders in every once in awhile (there’s also a hammer patrolling the hallway here). When it's safe, grab a jar (+20 = 400) from a dresser then return to the hallway.
Walk east. The first door on the left opens into a storage closet where there's nothing of value. You'll pass a door that leads to the outside on your right and beyond that is the small room where you collected a Cathedral key through the window earlier.
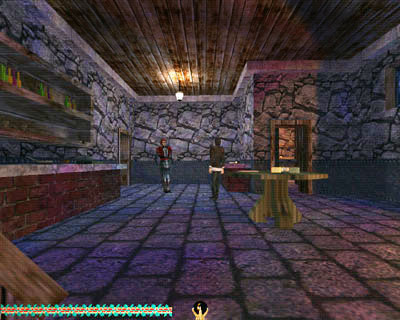
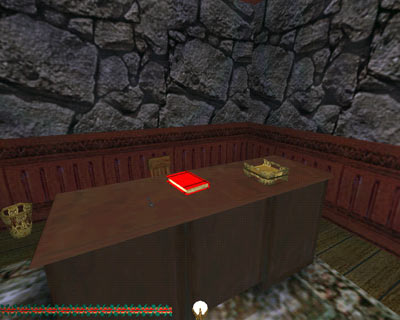
Past this room on the right is the Kitchen. Step into the shadows, just inside the doorway and listen to a conversation. Once it's completed, the guard will go off on his patrols and the Cook gets back to work. Snag a fire arrow from the kitchen fireplace then go east through the pantry and out the far side. On the right is the room of Gil, the Cook. Read the note lying on the table to find out that treachery is afoot then help yourself to a copper coinstack (+5 = 405) that is tucked away in the chest.
The next room on the left is the Mess Hall, where you can pick up 3 gold goblets (+75 = 480) from a shelf. Leave through the north door (there are several patrols here so be careful) and jog left into the Atrium where you'll find 2 green LC jars (+40 = 520). Walk back past the Mess Hall door and turn left. The first room on the left is a small office and here you'll find 2 decorative plates (+20 = 540) on the top of a bookcase and 3 coins (+60 = 600) lying on the desk.
The first room on the right is the Training Room where you can pick up some broadhead arrows from the chest.
Back in the hall, continue north along the hallway, past another Training Room and walk west through a seating area and down the hall – there will be two hammers up ahead talking. Enter a small Library, which is the first room on the right and collect a gold urn (+100 = 700) from the table in the second room.
Leave the library, turn right then right again at the corner. Skip the first door, which leads to the outdoors, and go through the next one into the Locker Room. There is a rope arrow in the chest and in the lockers you'll find an EMP grenade, a purse (+20 = 720) and a bottle of healing oil. In Quartermaster Semeul's room, you'll find his dead body lying on the floor and a purse (+100 = 820) locked in a chest. The Dormitory chests contain a coin (+20 = 840) and a silver coinstack (+12 = 852). East of the Dormitory is the pool, where you can pick up a water arrow.
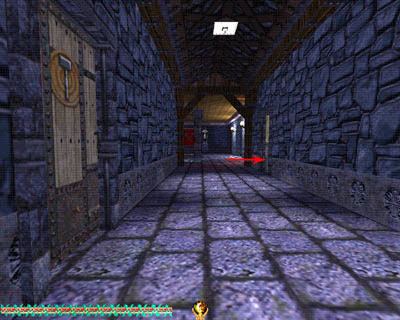
Go back through the Locker Room to the hallway, through the door on the right that leads to an outdoor courtyard and cross to the north door, which opens into another barracks room. There are only a couple of notes to read in here so return to the courtyard and go through the west door into a machinery room. Exit through the other door and walk ahead (S) down the hallway. In the Workshop on the left you can grab some broadheads from the chest. The room at the far end of the hallway only leads to another outside door so turn around and walk back along the hallway, past the door to the Machinery room and you will emerge into the Foyer.
Upper Floor
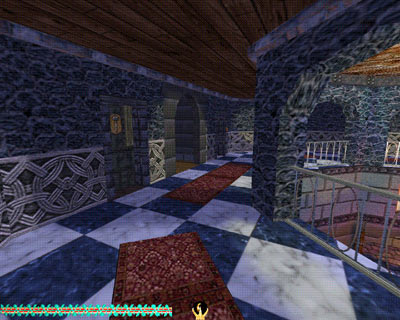
Ride the elevator to the upper floor but get off of it very carefully as there's a guard standing to the northwest. He rotates so it's fairly easy to avoid being noticed by him. There are two goblets(+30 = 882) on the shelves in the southeast corner of the foyer and a jar (+20 = 902) sitting on the shelves in the southwest corner and sneak into the shadow of the column, then run for the corner when the archer turns away (look out for the metal plates on the floor).
Head over to the metal door in the west wall and read the plaque on the wall beside it. Objective complete! So Cavador is the head honcho! Enter the room and have a look around. Pick up the Library key from the desk and read the book that is lying beside it. My! It's full of all kinds of interesting information. One objective is now complete but you've also added another one to your "to do" list. You now need to search the basement library for a map.
Open the desk drawer to pick up a pair of spectacles (+50 = 952) and help yourself to a gold wine bottle (+50 = 1002) and a gold goblet (+25 = 1027) from the table. Leave the office and turn left.
The door in the northwest corner beyond the guard opens into a Display room where you'll find a plate (+10 = 1037), a mask (+50 = 1087), and a statue (+15 = 1102). In the Sitting room north of the Display room you can acquire a gold urn (+100 = 1202). Walk along the northeast passageway, stopping to pick up a fire arrow from the floor to the left, and you'll enter a room with a small pond in one corner. Pluck a water arrow from the pond then go through the door in the south wall into a Common room. Take 2 vases (+100 = 1302) from the dresser then continue out of the other door and back into the foyer. Loot objective complete!
Go through the east archway. Turn left and then right (skip the first door on the left – it’s just the latrine) to arrive at the Greenhouse of Cultivated Plants. Pick a couple of moss arrows from the gardens then leave through the south door. You'll find yourself in a sitting room where you can acquire a silver statue (+15 = 1317) and a gold urn (+100 = 1417).
The west door takes you out into a circular hallway - watch out for the archer patrolling here. Turn right and you'll come to the Observatory. Inside, you'll find a flashbomb and a ring (+100 = 1517) on the shelves pair of spectacles (+50 = 1567) on the counter. Turn around and walk back the other way, past the door you emerged from and turn left into a sitting area where you can add a purple urn (+100 = 1667) to your loot.
Walk south along the hallway. You'll notice that you can open a wall grate on the right which gives you access to the air vent pipes. You can use that to move through this section to avoid the guards but for the walkthrough, we'll stick to the hallways.
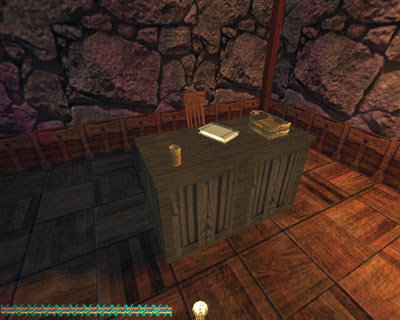
The chest in the first bedroom on the left holds a gold wine bottle (+50 = 1717) and the chest in the second bedroom on the left contains a copper coinstack (+5 = 1722). Around the corner on the right is the door into Brother Onam's room. Read the book on the desk and pick up 2 silver coinstacks (+24 = 1746) that are sitting beside it. Grab the silver statue (+15 = 1761) from the bookcase then continue along the hallway (W) to the bedroom on the left, at the far end. Open the chest to pick up a rope arrow then cross the hallway to a sitting room. Exit through the other doorway and walk straight ahead (W) (look out for the patrolling hammer). In the small office on the right you can acquire a ring (+100 = 1861). Exit through the west door, walk ahead into a storeroom where you'll find 2 copper coinstacks (+10 = 1871), then walk up the small set of stairs. Flip a lever to open the door and you'll emerge into the rooms off the balcony above the church.
The Library of the Builder's Tomes
Go back to the elevator and take it to the first floor. From here go through the northwest (watch for the patrolling hammer) and follow the hall to the door that leads outside. Cross the courtyard to the Library of the Builder’s Tomes. Go down the stairs (watch for patrolling mage) and sneak to the room on your far left. The desks to the east have 2 gold candlesticks (+100 = 1971). The wood platform to your right provides some shadow. There's a door with a window beside it. Look through and you'll see a priest standing in the room but it's brightly lit so entering from this side would be a problem.
However, there's a light switch beside the other door, which you can open by pushing the button on the table inside the window.
There's a silver statue (+15 = 1986) resting on a pedestal to your right. Pick it up then go up the stairs to the southeast and go right through the stacks. Go around to the door the button opened. Lean in and flip the switch to turn off the lights then have a look around. Read the note left on the desk nearest the door, which contains information about the artifacts to be found in the Mausoleum then pick up the Mausoleum Map from the other desk. Objective complete!
Now all you need to do it get out of this place. Go back upstairs to the church courtyard, walk to the south end and climb the boxes and vine to the top, then slip through the broken fence and jump to the boxes below (if you’d rather not take a little damage, just go back through the main sanctuary to get out). Either way -
Mission Complete!
|