Walkthrough - Mission 2
The Trials That Shape Us
Note: All locks that require keys are noted. Everything else is either unlocked or can be opened with your hairpin lockpick.
Loot Map & List
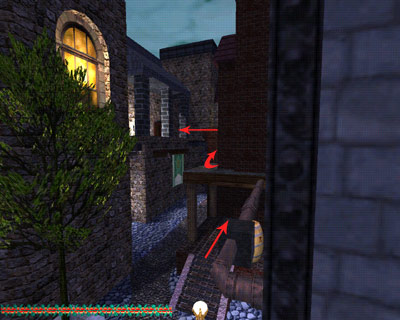
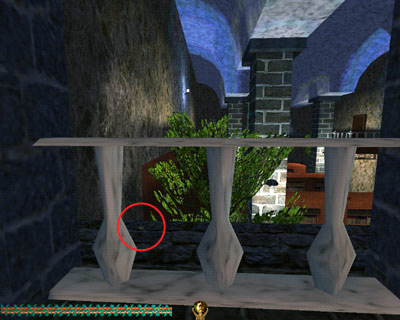
You begin the mission on a rooftop overlooking the street in front of the Museum. Pick up a healing oil that is laying near the edge then crouch and slide down onto the small roof below. Here you can jump to the pipes on your right and use the ledges to get to the balcony. Objective complete!
Upper Floor
Listen to a conversation between 2 people on the main floor then wait in the shadows for a guard to patrol along the hallway in front of you. Take the Museum key from his belt and walk east along the hallway into the Patrol Lounge. Wait in the dark for a large man (Curator Limes) to walk in and relieve him of the Office key (It’s hard to see because it’s buried in his side a little bit) Be careful because sometimes he stops to look at the statue and sometimes he doesn’t. Grab a vase (+40) from a round table and 3 gold coins (+60 = 100) from the coffee table then go through the north doorway onto a balcony above the Hammer Artifacts display. Take a healing oil from the table at the north end and a golden replica of the First Hammer (+80 = 180) from a display alcove.
Exit through the west doorway, and watch for the guard walking back and forth around the balcony. Walk straight ahead and go through a set of double doors on the right. There's an "Employees Only" door in here but no way to open it so continue through the room and out onto the balcony overlooking the Main Foyer. Turn right through the next doorway, which leads to the balcony above the Vase Display.
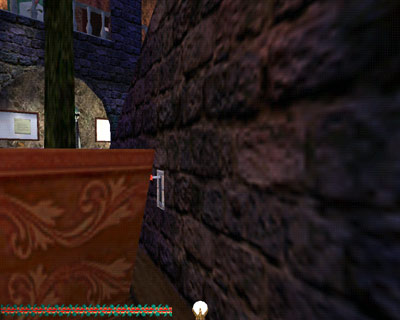
Look through the barred window on the right and you'll see a button on the wall. Hit it with an arrow and the "Employees Only" door in the previous room will open. Go check out the room and you'll find a chest that contains 2 mines. Look at the ceiling and you'll notice an opening above the west side. Rope arrow up, open the door and you'll emerge onto the rooftop. Head NW then check around and you'll find a flashbomb sitting on a table.
Return to the Vase Display balcony and grab the vase (+50 = 280) displayed on the table at the south end, then head north to the Pagan History balcony. Take a vine arrow and a broadhead arrow from the display stand and then walk through the west door.
You are now on the Texts and Documents balcony. Walk around to the NW corner where you'll find a gold candlestick (+60 = 290) on the table. Continue along (E) to a door that leads to a small section of balcony that overlooks the Library. If you read the notice posted by the door, you'll see that it mentions a ring that was misplaced by a patron. Walk back past the table where you found the candlestick and through the door on the right into another Patron Lounge.
Walk through the doorway in the north wall on to the library balcony and peer through the last set of railings to find the lost ring (+35 = 315). Return to the Patron Lounge and turn right through doorway to the Pre-history balcony. Grab a vase (+25 =340) from a small table then return to the Patron Lounge and go through the southwest doorway into a hallway. Go through the doorway at the end and turn right along the balcony above the City Fathers' Exhibit. Turn left at the end, take a moss arrow from the planter and pick up the green LC vase (+20 = 360) resting on the edge. Continue through the south doorway, turn left, then right through the doorway at the far end of the balcony.
Lower Floor
Go down the stairs and peek through into the City Fathers' Exhibit. There's a guard standing at the west end of the room. Keep an eye on him and when he's turned away from you, sneak along the south side of the room and into the room at the back where you'll find a jar (+25 = 385). Exit through the other door, (read the note about the missing mummy posted here) walk east then turn left through an archway into the foyer.
Turn right and walk past the gated enclosures on the left to a dragon statue, which Zaya recognizes. At this point, you receive a new objective to break into Frederick Lime's office and find out where they purchased the Yowara statue.
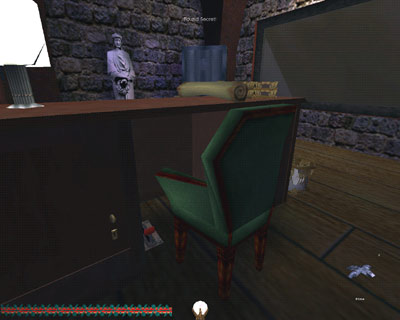
After you've passed the statue, go through the door on the right into the Offices. Read the scrolls in the wall cubby holes and you'll find out that there is a security system installed in the basement. Better check that out! Go in behind the desk in the southeast corner and you'll find a gold wine bottle (+50 = 435) sitting on the floor. Sneak around the guard in the next room who is wearing another copy of the Office key, snatch a vase (+50 = 485) from a table and then climb the stairs.
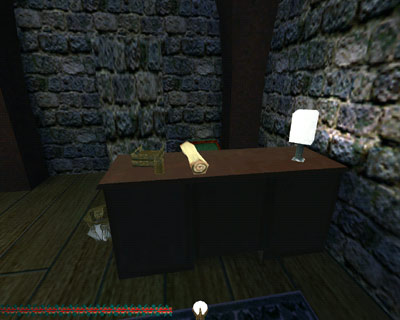
Unlock the door with the Office key, enter and take a gold coinstack (+25 = 510) from the safe, then read the note from the Free Traders that is lying on the desk. It contains the information on how the Yowara statue was acquired Objective complete!
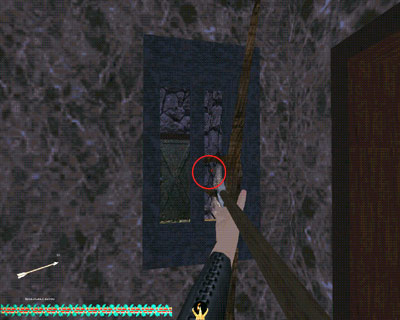
The left compartment in the desk contains a healing oil. Flip the lever under the desk and you've found Secret #1! A panel slides open on the wall and inside you'll see a mummy lying on the floor. There's nothing of value in here so go back downstairs through the Offices, out through the door and north into the Texts and Documents room. The worker wandering around in here is wearing another copy of the Museum key. The only thing of value here is a piece of gold pyrite (+1 = 511) that is displayed behind glass on the west wall.
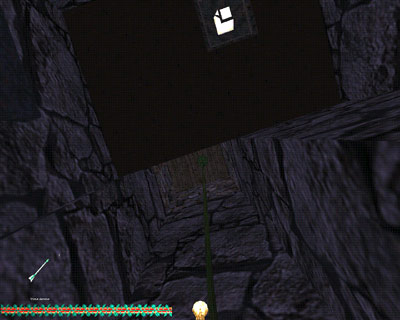
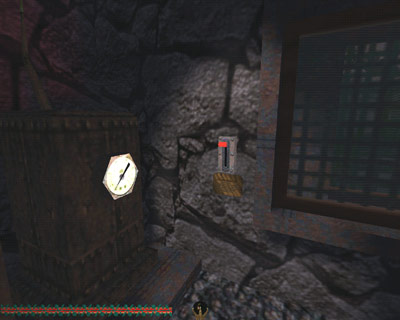
Flip a lever (Fig. 10) hidden behind the tree on the south side of the stairs to find Secret #2! A grate slides open, revealing a passageway you can crawl through. Climb down a ladder, wiggle through another passageway and flip a lever on the wall at the end to open another grate. You'll emerge into a basement machinery room.
Go through the door on the left and flip the lever on the right hand wall to disable the foyer security system. Open the chest nearby to find 2 mines, then return to the other room. Turn left (W) and climb a couple of stairs. Turn right, go upstairs and open the chest on top of the large crate to find a flashbomb. Move the smaller boxes and look in behind the crate to find a vine arrow.
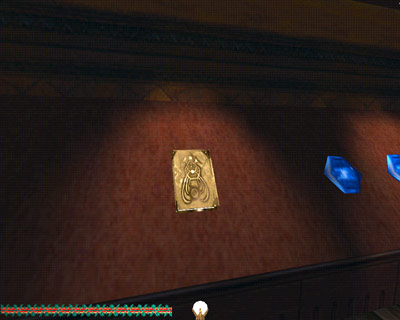
Open the door, turn left, and you'll find yourself back in the foyer. The gates that previously had prevented access to the exhibits on the north wall are now open. Help yourself to a purple urn (+100 = 611), a necklace (+200 = 811) and 2 blue gems (+30 = 841). Loot objective complete!
Pick up the Sacred Tome that is also on display here. Objective complete!
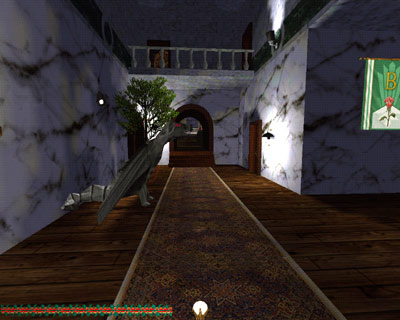
Walk back past the doorway to the basement stairs and turn left (W) into the Pre-history display. You'll find a moss arrow in the garden on the right and a gold urn (+35 = 876) sitting on the table. The doorway to the south of this room leads to the Paint Exhibits room, where you can pick up a green LC vase (+20 = 896) from the table tucked away in the northwest corner. Walk back through Pre-history, go right (E) to the hallway then left into the Library. In here, you can acquire 3 silver statues (+14 = 910) from the table ahead.
The marble floor and the guard in here are a pain, so save the other side of the library for later. Go back to the hall and head East through Texts and Documents straight into the Pagan History display. Fish 2 water arrows out of the fountain then climb the rocks above to find a moss arrow.
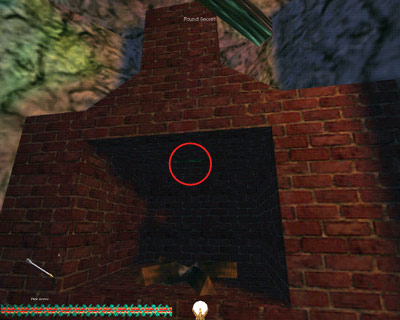
In the Common Pagan Household room to the south, crawl into the fireplace and look above your head. Grab the fire arrow, and you've found Secret #3! Take a pink gem (+15 = 925) from the fireplace mantel and pick up the healing fruit from the floor beside the scarecrow.
To the north is the Superstitions exhibit where you'll find a scepter (+50 = 975) on the table. Now go West into the library and grab a silver statue (+15 = 990) from the table on the South wall, a gold candlestick (+50 = 1040) on the table in the Northeast corner, and also a vine arrow that is stuck into the shelves on the north wall.
Exit through the northwest door, which will take you back into Texts and Documents. Leave this room through the southeast door and turn left up the steps into the Vase Display (watch out for the patrolling archer overhead). Help yourself to a purple urn (+70 = 1110) then go through the south door into another small Patron Lounge. Take a small silver statue (+15 = 1125) from the table and walk through the double doors into the Ritual Mask Display (watch out for the patrolling guard above you).
Collect the 6 masks (+300 = 1425) from the display stands then go through the northeast doorway into the Hammer Artifacts Display. A guard is patrolling counterclockwise in here. Grab the silver statue (+15 = 1440) from the table in the Northeast corner. Through the south door is another Patron Lounge where there's a vase (+50 = 1490) sitting on a table. You've now got all the valuables in the Museum so it's time to get out.
Return to the Ritual Mask Display, go upstairs and walk all the way around the balcony to the southwest door which leads to the outside balcony. Go to the west end, jump over the rail onto a pipe, drop down on the right onto a ledge and from there descend to the street.
Mission Complete!
|